Difference between revisions of "Locator Tutorial: Setup and Runtime"
| Line 51: | Line 51: | ||
Locator Core works as a background service so it should be running in the background since first reboot after its installation. | Locator Core works as a background service so it should be running in the background since first reboot after its installation. | ||
| − | If you want to visualize Locator GUI, simply search for '''Locator Configurator icon ''' in the Applications menu in Ubuntu or type ''' | + | If you want to visualize Locator GUI, simply search for '''Locator Configurator icon ''' in the Applications menu in Ubuntu or type '''LocatorConfigurator''' command directly to the terminal. |
| − | [[File:Locator Ubuntu apps.png]] | + | [[File:Locator Ubuntu apps v2.png]] |
Revision as of 15:23, 6 August 2018
The main aim of this page is to provide a detail information of how to configure and use PhoXi Locator
It is highly recommended that users read Locator Tutorial: Introduction prior to this page
Contents
1. PhoXi Control
Locator was designed to work with Photoneo PhoXi Scanners and requires PhoXi Control application to be running in parallel to the Locator application.
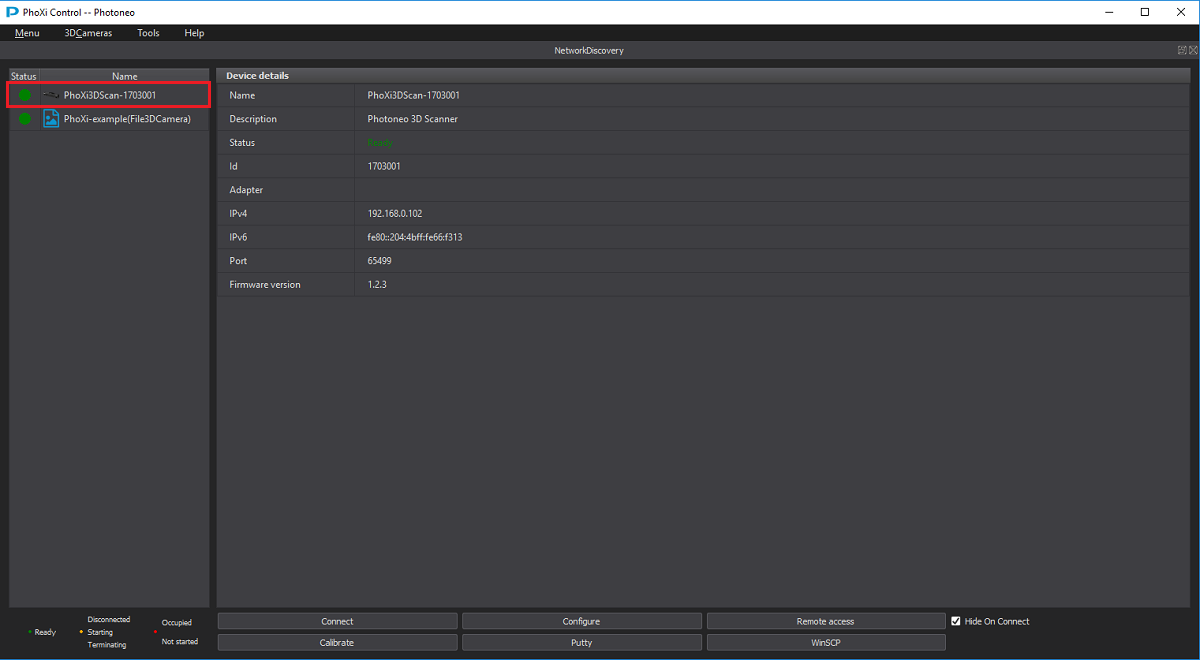
As a first step in the process, ensure that PhoXi Scanner is connected to the same subnet and appears in Network Discovery as shown in the figure below:
Connect to the specific PhoXi Scanner and fine scanning parameters in order to provide best achievable results. See our knowledge base to get more info on this topic.
2. Localization Configurator
The Configuration of PLCF (Photoneo Localization Configuration File) is very important for overall Locator performance.
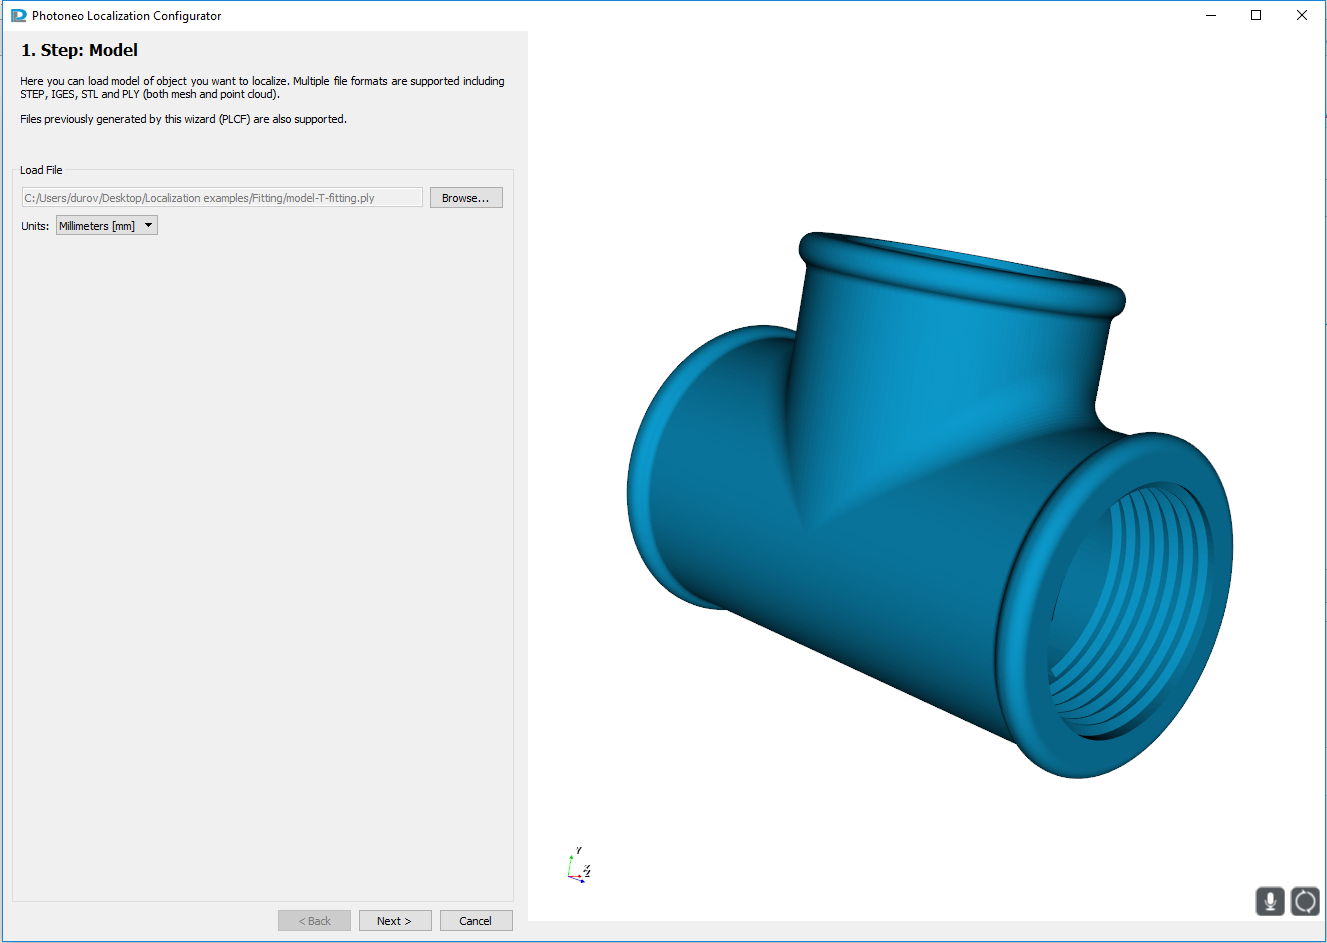
Launch Photoneo Localization Configurator and on the 1. Step - Model tab upload the model of your object in .ply or .stl format.
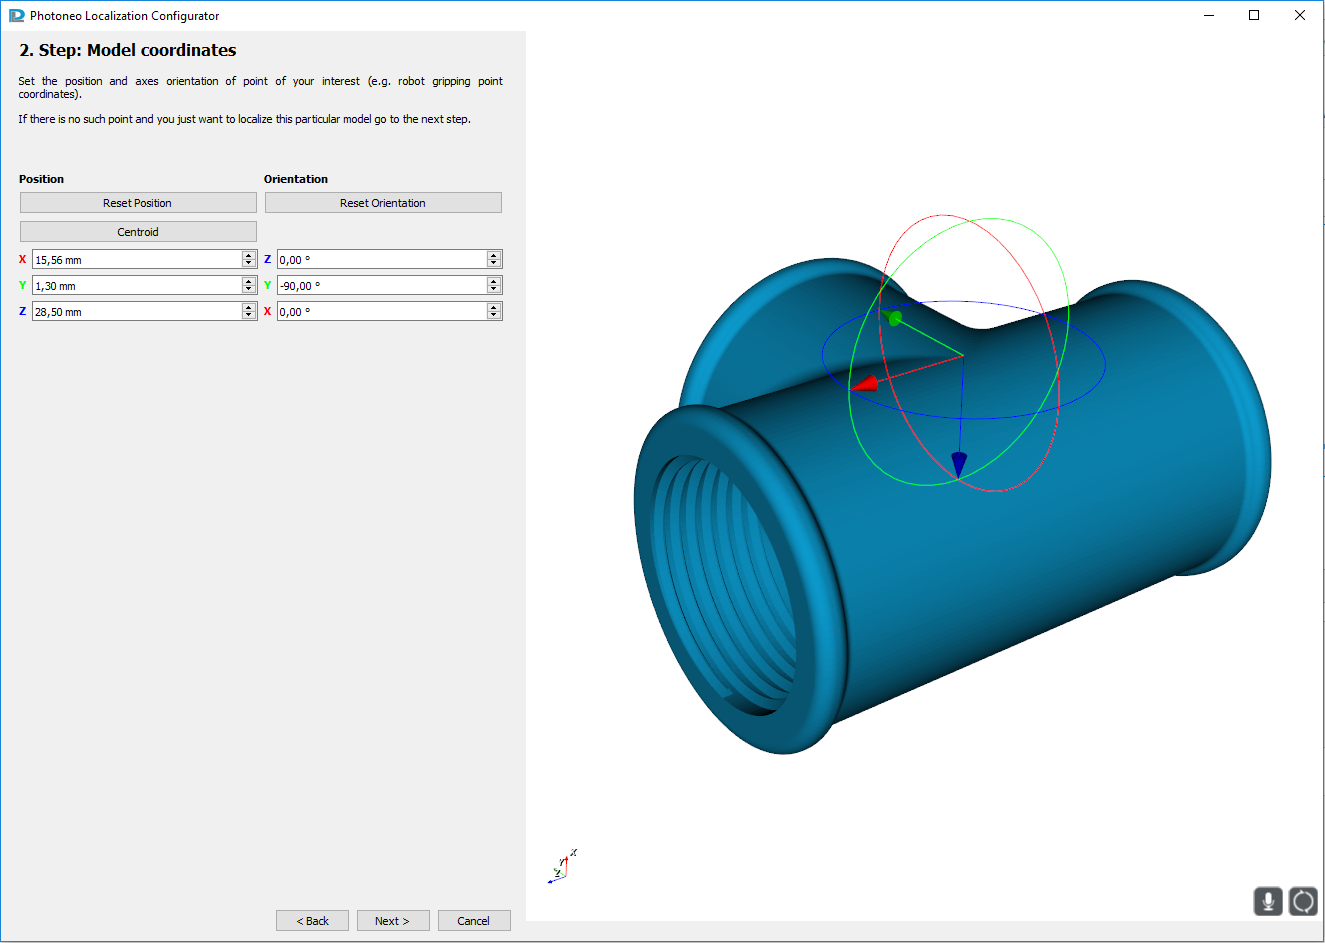
On the 2. Step - Model Coordinates tab, select the point of interest - the point on the object, which should be returned by the Localization. Try to set this point to be unique (not always possible especially for rotation invariant objects).
If you plan to approach the object directly in the orientation returned by Localization, set the Z axis of interactive marker to point in the approaching direction of the robot(See the figure below). Otherwise it might not be kinematicaly reachable.
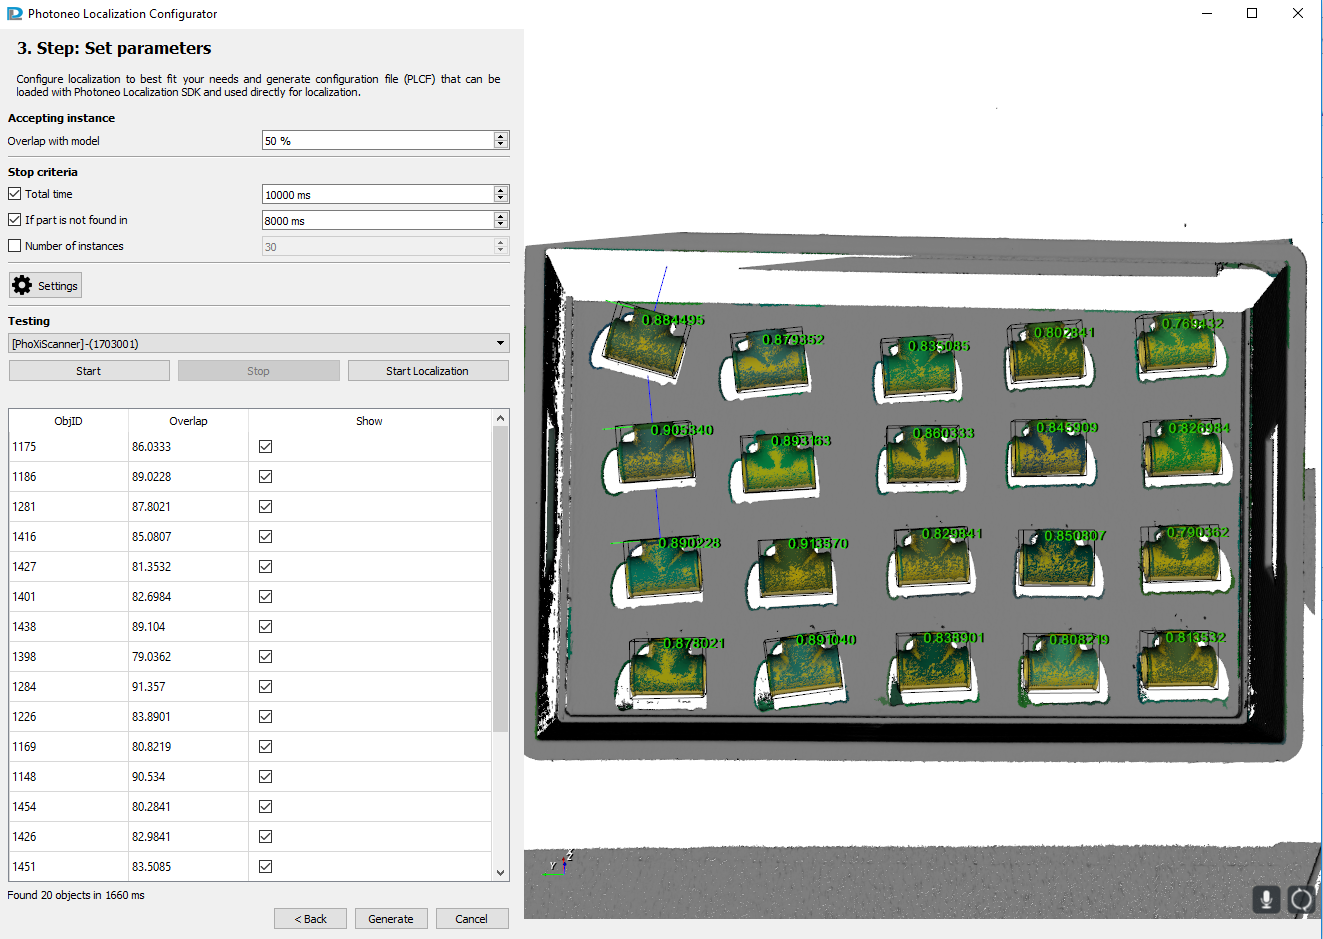
On the 3. Step - Set Parameters tab, ensure that you select reasonable Stop Criteria and trigger localization several times to see your current configuration provides reliable results. See figure below:
In case that Localization does not provide reliable results, use Advanced Settings to adjust additional localization settings.
Click Generate to create PLCF file when Localization Configuration is finished.
3. Locator Start [Ubuntu]
Locator Core works as a background service so it should be running in the background since first reboot after its installation.
If you want to visualize Locator GUI, simply search for Locator Configurator icon in the Applications menu in Ubuntu or type LocatorConfigurator command directly to the terminal.
4. Locator Configuration
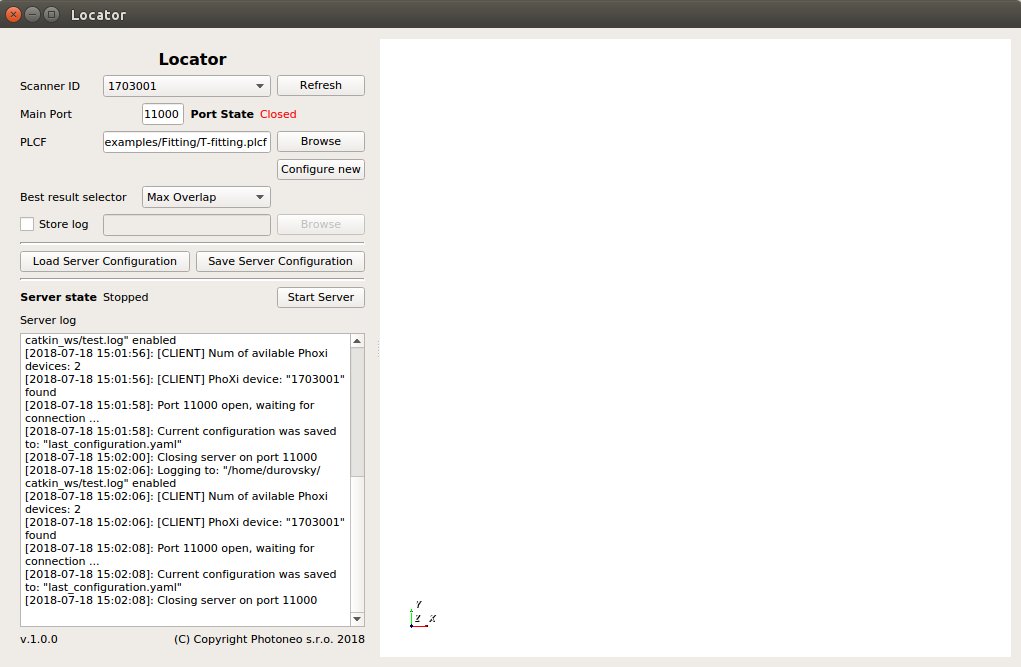
Figure below shows Locator GUI which is intended for configuration and validation of Locator functionality.
Following is the list and description of Locator controls:
- - Scanner ID - Locator detects and list all available PhoXi Scanners as shown by Network Discovery in PhoXi Control application. Use Refresh button to reload available devices
- - Main Port - Set a number of port which will be opened for TCP/IP communication by Locator for communication with client.
- - PLCF - Photoneo Localization Configuration File generated from Localization Configurator. See this link for more info. Use Configure New button to launch Photoneo Localization Configurator directly.
- - Best Result Selector - this option is used to filter results returned by Localization. For example if PLCF configuration is set to return 50 results but Locator client request only single one, this option affects which of Localization results will be finally transmitted to the client. If client requires more results, Best Result Selector is used as sorting criterion. Select from Min X, Max X, Min Y, Max Y, Min Z, Max Z, Max Overlap options.
- - Store Log - If you want to store Locator logs to the text file, check this option and select/create a file using the Browse button.
- - Load/Save Server Configuration - Locator by default stores the last configuration used, however these buttons can be used to save current configuration to specific file to be reloaded later.
- - Start/Stop Server - This button is intended to start and stop Locator TCP/IP server.
3. Locator Runtime
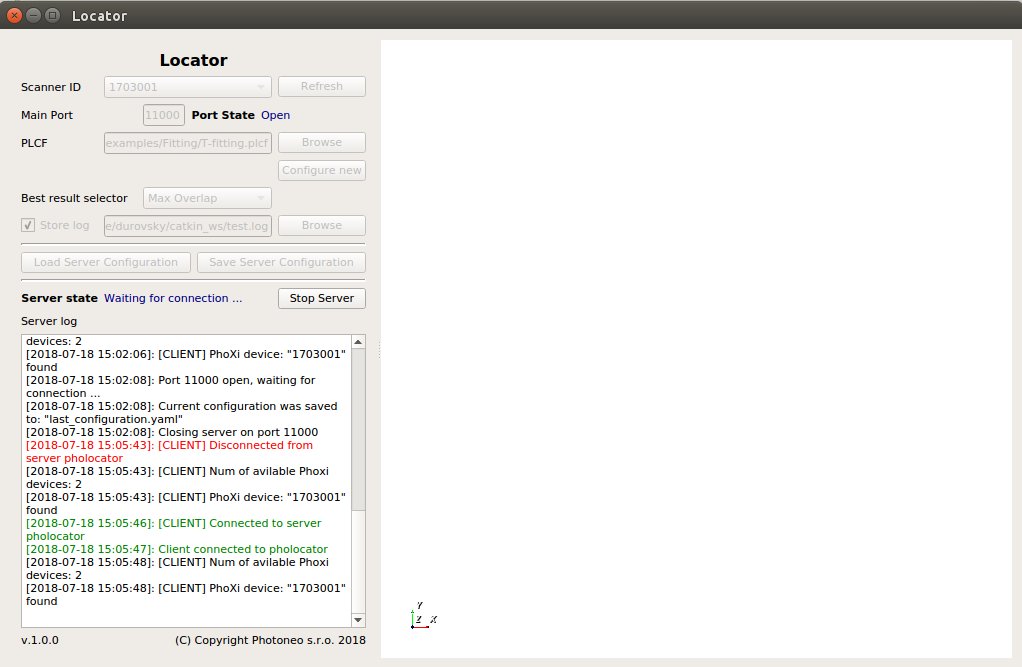
When Locator is configured and ready for launch use Start Server button to initialize TCP/IP communication. Locator initialized and waiting for connection from client as shown in the figure below:
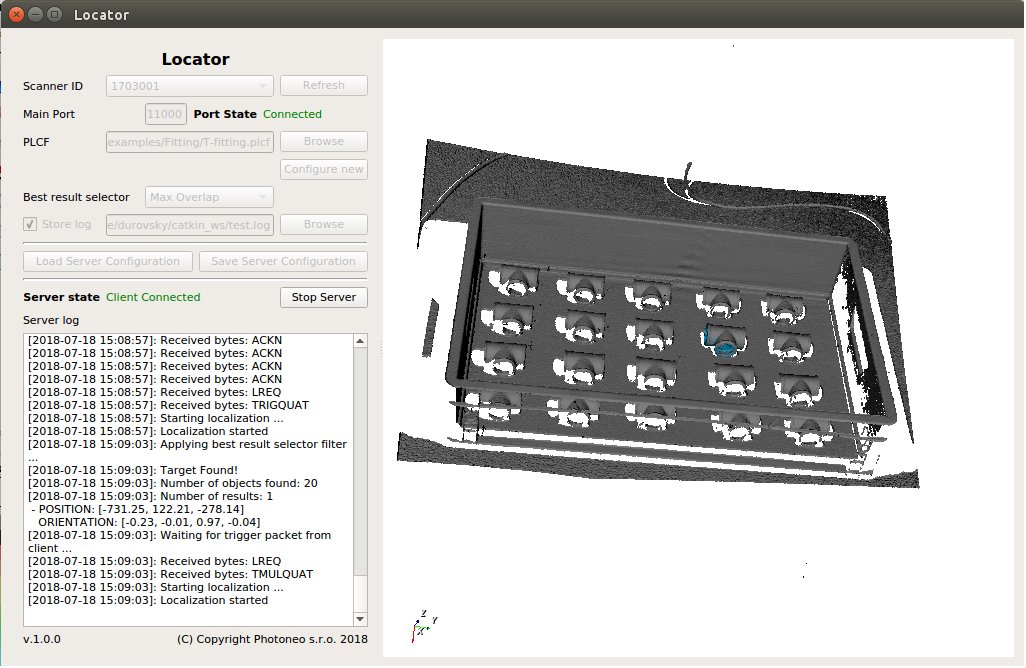
As soon as the connection from the client is established and the first scan is triggered the current point cloud should appear in the 3D visualizer screen on the right. Use mouse to reorient 3D viewer to show scene and goal object/s properly.
The final object which coordinates are about to be sent to the client is highlighted in 3D visualizer by blue color. The actual object pose is also outputted to the log screen in the bottom left corner.
Locator Core works as a background service so even if you close Locator GUI, the Locator will still be running.
