Difference between revisions of "Locator Tutorial: Setting up Locator to work with UR robots"
From 3D scanning Knowledge base - Photoneo wiki
| Line 12: | Line 12: | ||
[[File: Locator Setting Up Guide About 2.png]] | [[File: Locator Setting Up Guide About 2.png]] | ||
| + | |||
| + | == 2. UR Controller Setup == | ||
| + | |||
| + | === 2.1 Set IP Addresses of Ethernet Port === | ||
| + | |||
| + | The first step of the process is to configure the IP address of the Robot Controller. | ||
| + | |||
| + | Using the Teach Pendant, press '''Menu''' -> '''Setup''' -> '''Host Comm''' -> '''TCP/IP''' -> '''F3[Detail]''': | ||
| + | |||
| + | |||
| + | [[File:Locator Setting Up Guide IP Config.png]] | ||
Revision as of 07:18, 17 January 2019
Users are strongly recommended to read Locator Tutorial: Introduction prior to installation of specific robot interface
1. Prerequisites
Prior to setup, please ensure that your UR controller meets the following criteria:
- CB3.1 or E-series Controller
- System version 3.2 and higher
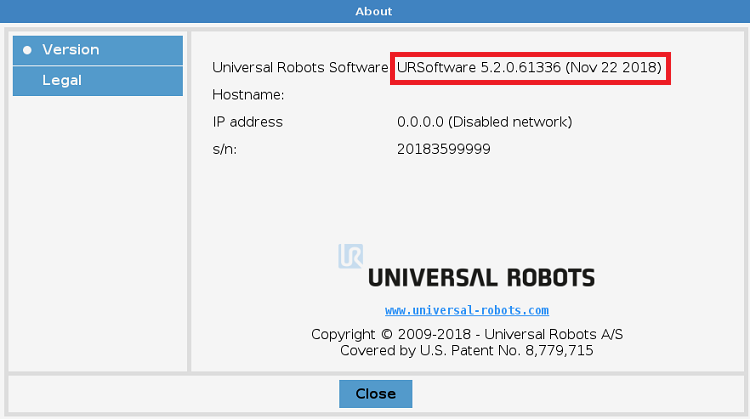
Click Menu -> About to verify your controller System Version (see figure below):
2. UR Controller Setup
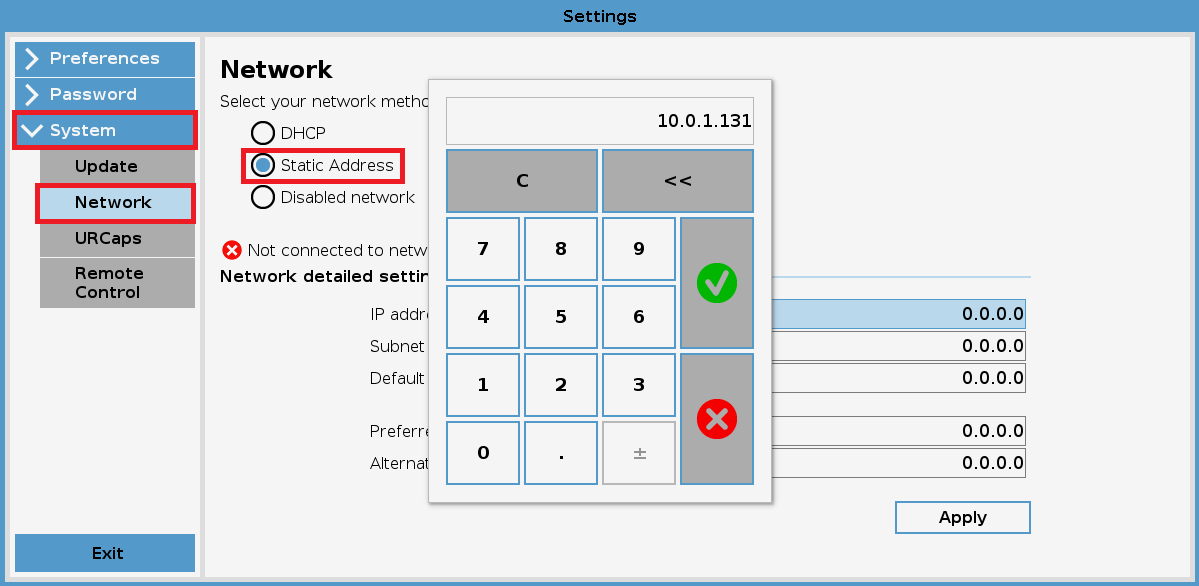
2.1 Set IP Addresses of Ethernet Port
The first step of the process is to configure the IP address of the Robot Controller.
Using the Teach Pendant, press Menu -> Setup -> Host Comm -> TCP/IP -> F3[Detail]:

