Bin Picking Tutorial: Setting up Photoneo Bin Picking Studio with UR robots
Contents
1. Prerequisities
Photoneo UR Interface is compatible with Universal robots versions 1.8 and higher.
2. UR Controller setup
Following tutorial gives a step by step guide how to configure your UR controller and install all necessary UR scripts to get the robot interface for Photoneo Binpicking Solution running.
This tutorial was originally written using the latest UR v.3.5.1, however it should be compatible with older versions with minor changes. It is assumed that a user has a basic knowledge of UR system and its configuration. In case you have never used this robot before, it is highly recommended to read basic [tutorials] on Zacobria robot community forum for UR robots prior to installing Photoneo UR interface.
2.1 Network configuration
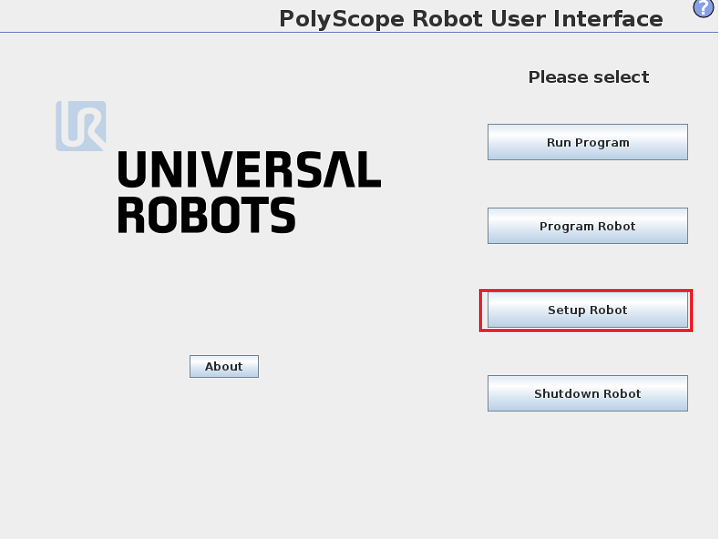
As a first step we configure network interface. Click Setup Robot -> Network to open robot's configuration:
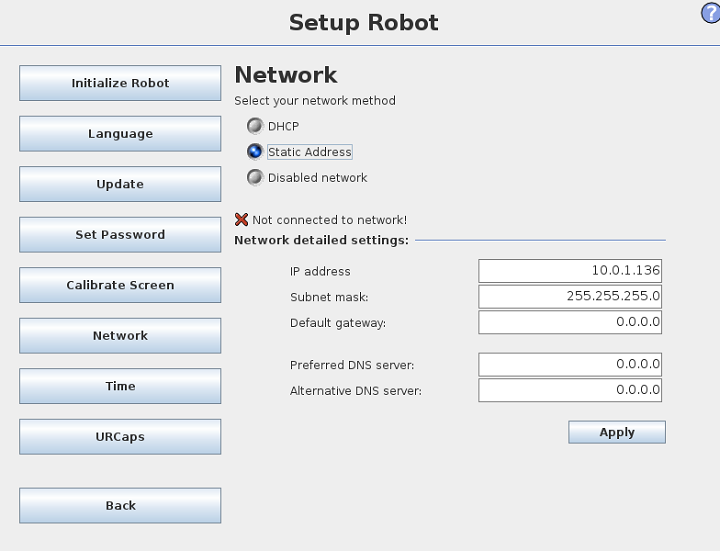
Following configuration pane should appear. Select static address network method and configure IP settings to meet your network requirements. Apply when finished.
3. Install Photoneo program
As a next step we need to copy UR scripts from Photoneo UR USB stick to the robot controller. It is possible to perform this operation via Ethernet or using USB stick directly. In this tutorial both options will be covered:
3.1 Copy files from USB stick
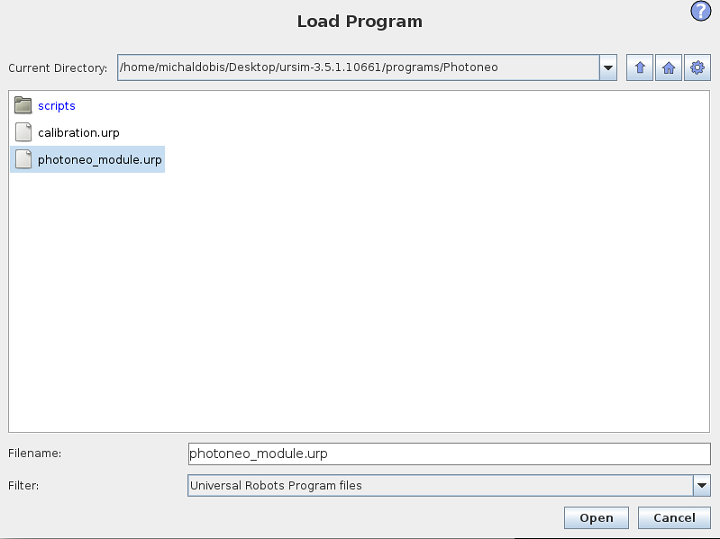
Insert USB stick to the slot on the back side of the pendant. On the Main Robot screen select Program Robot -> Load Program:
You should see robot's filesystem pane. Select USB -> Photoneo and choose photoneo_module.urp
NOTE: If compatibility error occurs during program loading, it is recommended to create new program first. See section 3.3 for further information.
3.2 Copy files via Ethernet SCP
It is also possible to copy files to UR Controller using remote access directly from PC. Browse to the folder containing Photoneo UR scripts and copy the whole folder using following command:
$ scp -r Photoneo root@XXX.XXX.XXX.XXX:/programs/Photoneo
Default password is "easybot"
3.3 Creating new program
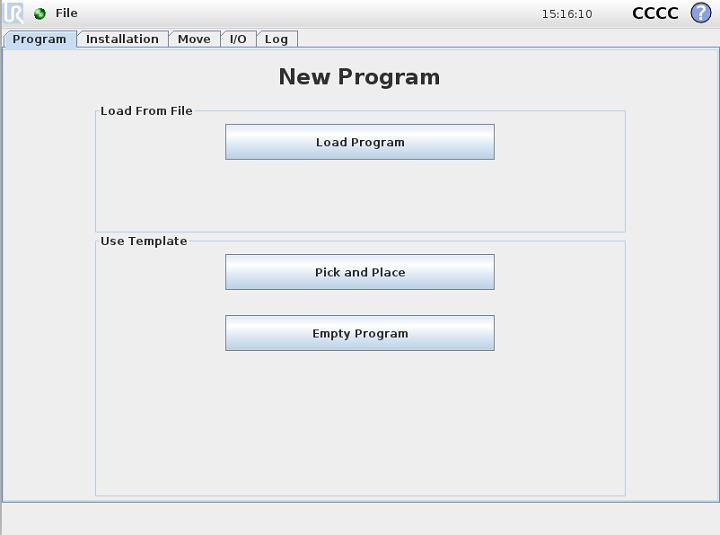
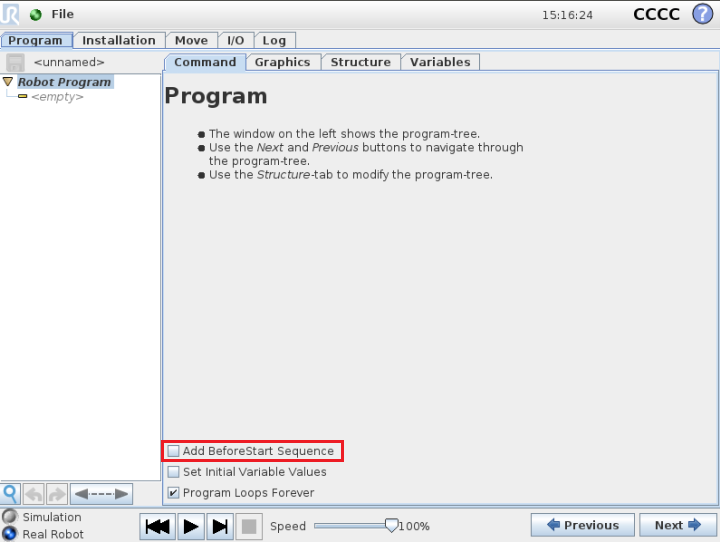
On the Main Menu screen select Empty Robot. Following screen should appear:
Photoneo UR module consists of two main parts: BeforeStart and Robot Program. In order to enable BeforeStart Sequence it is necessary to check this option at the bottom of this pane.
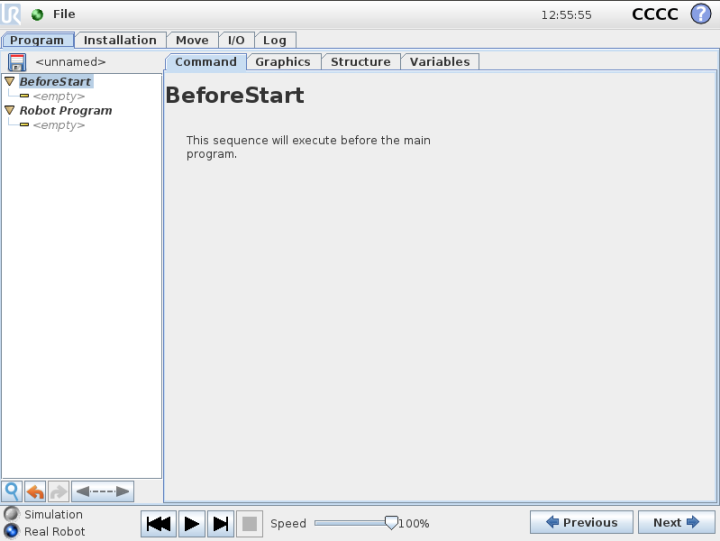
You should see following screen with empty Robot Program and BeforeStart programs now:
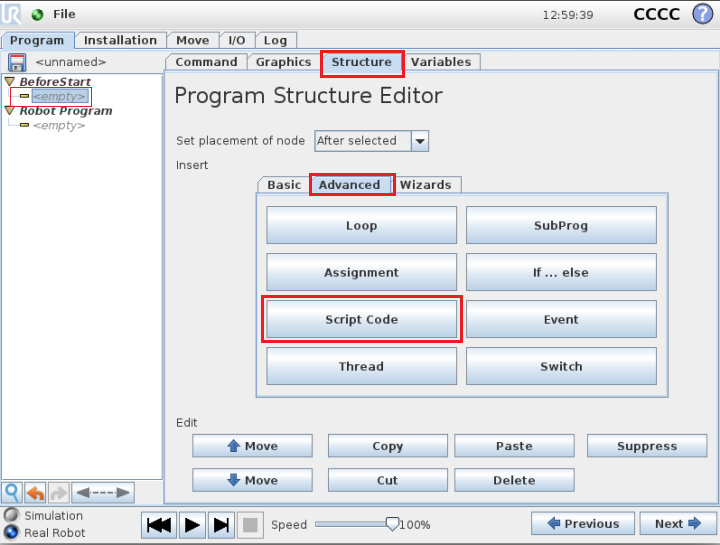
Copy scripts from Photoneo/scripts to BeforeStart sequence using following steps:
1. Click BeforeStart na lavej liste
2. Select Structure in the Main Window
3. Choose Advanced tab
4. Select Script code
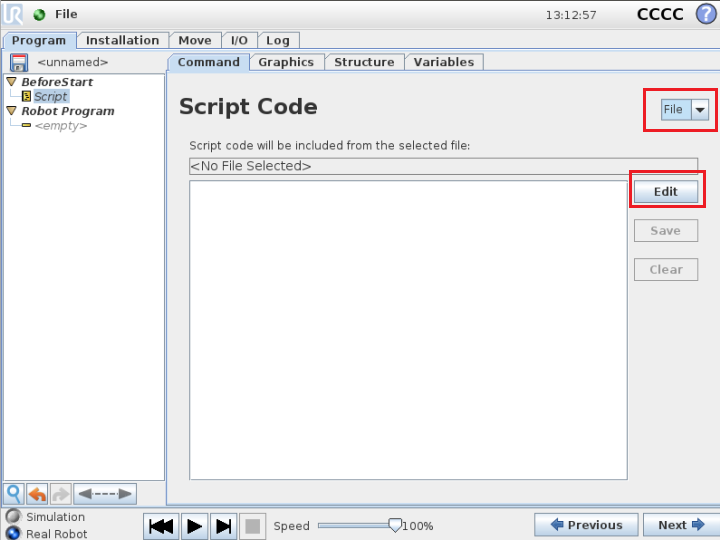
5. Select Command tab in the Main Window
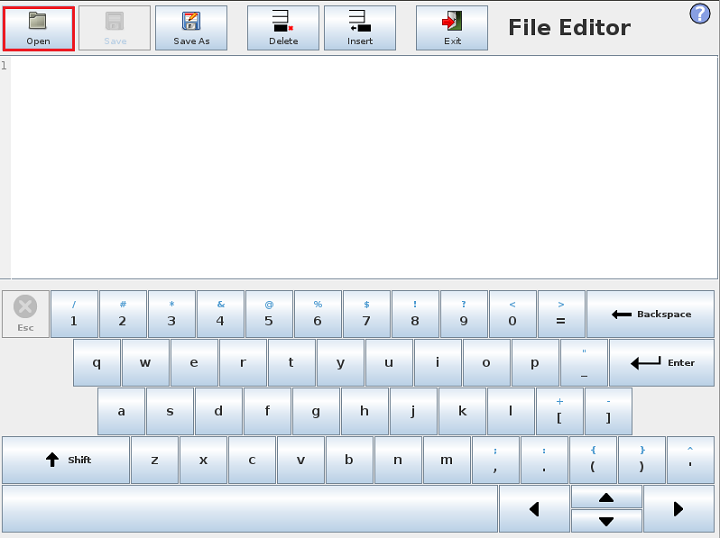
6. Choose File and Edit as shown by the figure below:
8. Click Open and select photoneo_script.script from Photoneo/script folder
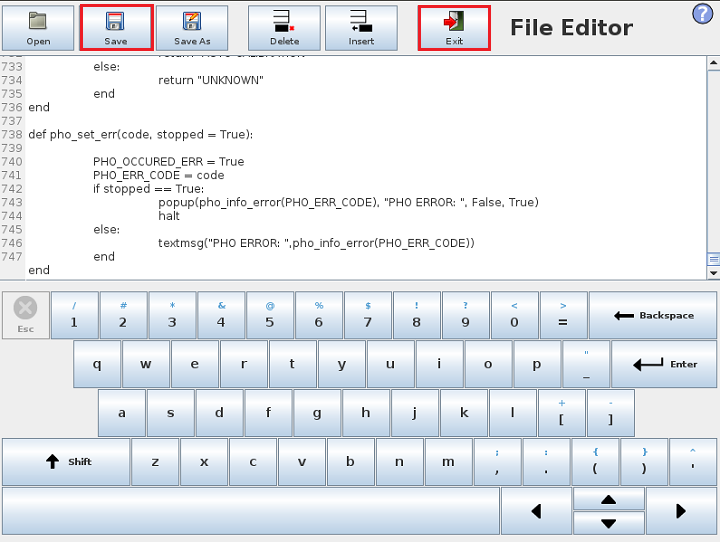
10. Hit Save and Exit
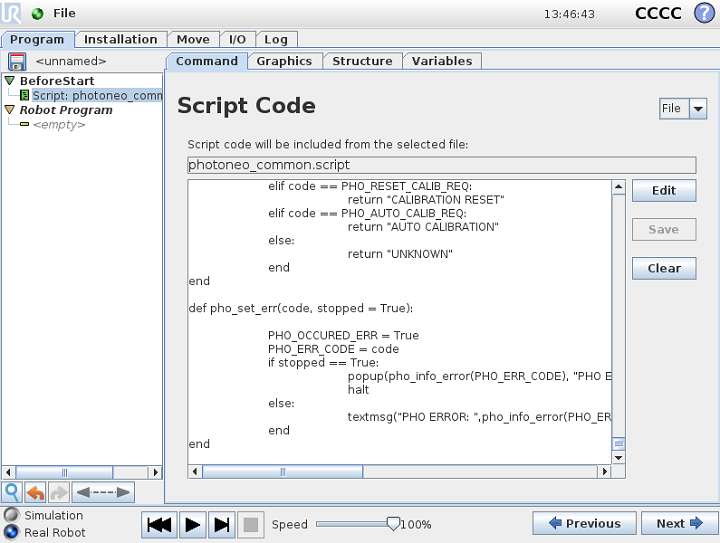
If script was loaded successfully it should be visible under BeforeStart program as shown by the figure below:
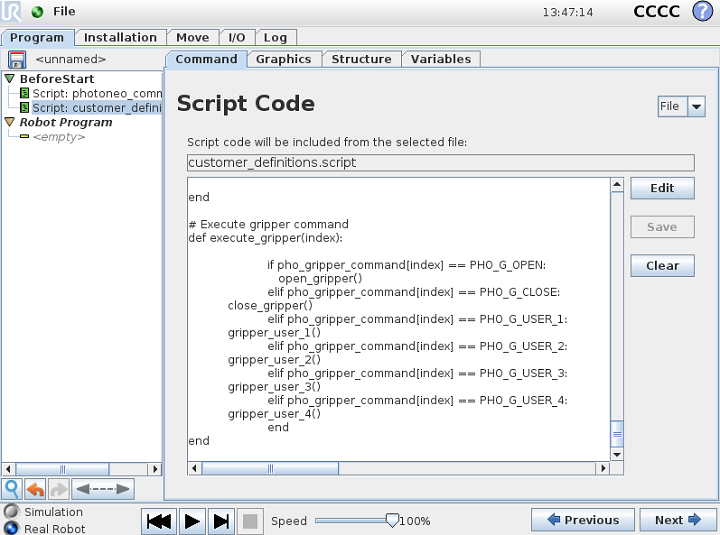
Repeat the same sequence for customer_definitions.script to reach following state:
All files necessary for Photoneo UR interface should be available within the system. You are now ready to start editing the main robot program using Photoneo UR API
